18550502088
2021-07-23
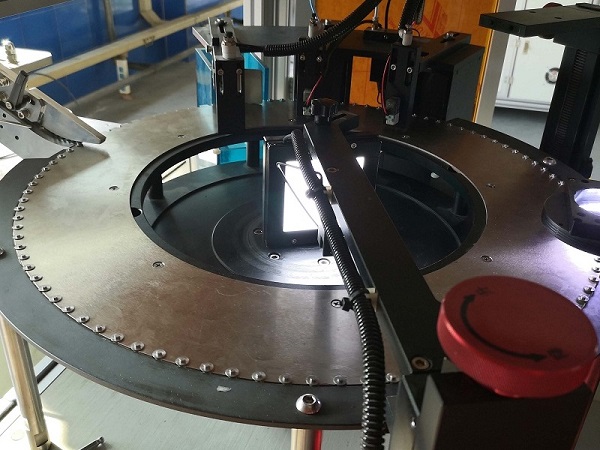
The optical inspection machine based on the vision system uses the images of the workpiece to be collected, and converts these images into digital signals, which are submitted to the computer for processing. In an image detection system, proper brightness and contrast are the key to imaging. In actual use, a special lighting device is usually required to obtain the appropriate brightness and contrast. The quality of the light source and the lighting scheme usually determines the success or failure of the entire visual inspection.
Taking blind hole inspection as an example, introduce the application characteristics of visual inspection technology in manufacturing.
What is a blind hole? What are the testing requirements? These two problems are really familiar to workers in industrial processing and manufacturing. Blind holes are through holes that connect the surface layer and the inner layer without penetrating the material. In the manufacturing process, all kinds of blind hole parts are more common. The detection of blind holes has always been a headache for workers. The geometric quantities of blind holes detected mainly include the depth of the blind hole and the inner diameter of the blind hole.
The traditional detection methods are:

Micrometer detection method:
Select a smooth plug gauge that is suitable for the diameter of the inner hole to insert and test. The calculation formula is: hole depth = plug gauge length + component length-the total length of the component after the plug gauge is inserted into the inner diameter, and the depth detection value is obtained by indirect detection.
Caliper detection method:
Insert a smooth plug gauge of known length and use the tail of the caliper to detect the length of the exposed part. The calculation formula is: hole depth = plug gauge length-the remaining length after the plug gauge is inserted into the inner hole, and the depth detection value is obtained indirectly.
Traditional inspection methods use micrometers or calipers to indirectly obtain inspection values, which have the disadvantages of long inspection time, large errors in process operation, and insufficient intuitive readings.
With the development of science and technology, in recent years, new optical inspection machines have replaced traditional inspection methods, using the basic principles of light sources and coaxial light to detect blind-hole workpieces. The actual inspection process is the light source and the lens axis. An illumination method that illuminates the surface of the workpiece in a parallel direction can be used for the depth detection of various small blind holes, making the blind hole detection no longer a problem, suitable for mass production and manufacturing commodity inspection, and the detection accuracy is very high , Which greatly improves the quality of product manufacturing.
H
I
D
E